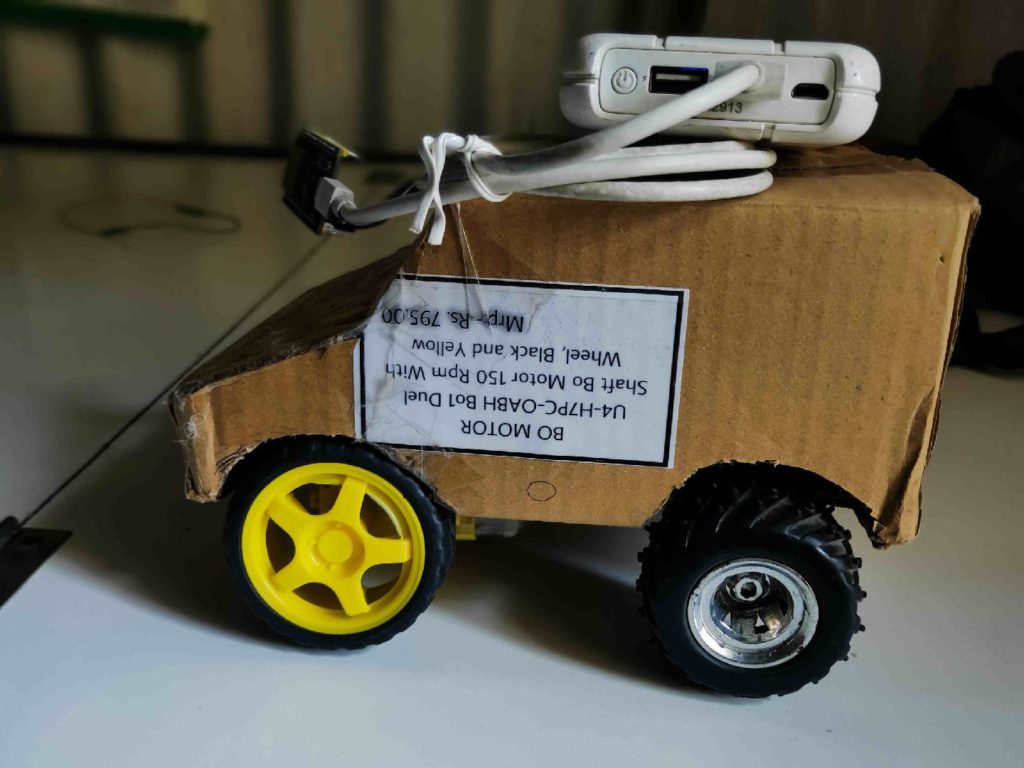
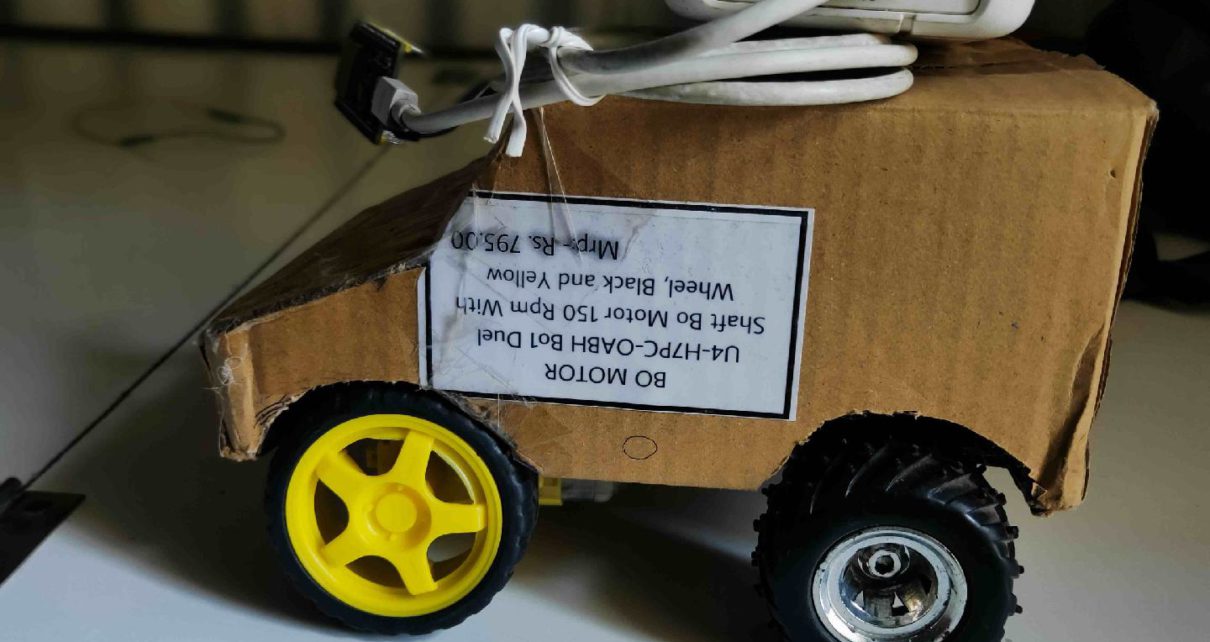
In this project, we are making a Bluetooth Controlled Car using ESP32 Dev module. There is a reason why we have chosen ESP32 instead of any other board like Arduino.
here is the reason why we have chosen it. ESP32 is now becoming more famous due to its great features like inbuilt Bluetooth and Wi-Fi modules. Also, it has a more powerful CPU more RAM and ROM which is a great advantage over Arduino or any other development board of IOT-based projects which requires an active internet connection or features like Bluetooth. hence, we have chosen ESP32 for our project.
Components required:
Components required to make Bluetooth controlled robot car.
- Geared DC motor
- L293D motor driver or N298 MOSFET driver
- chaises for housing component
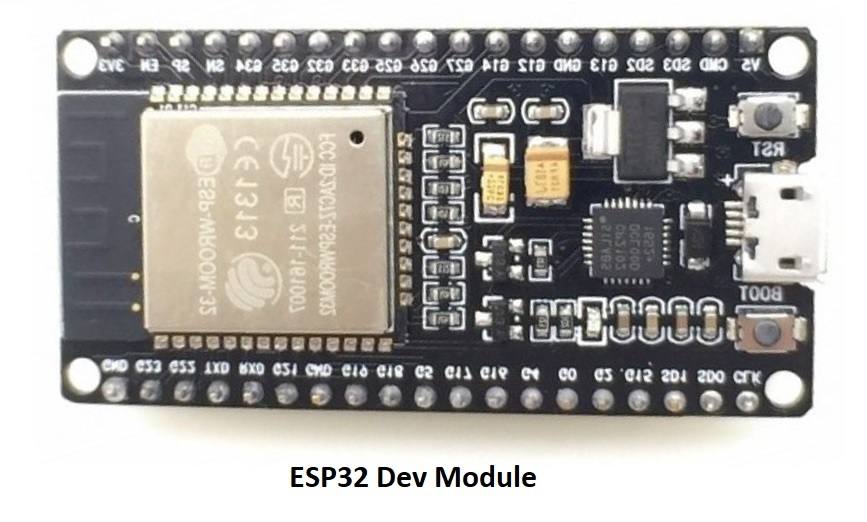
- ESP32 dev module (development board)
- Jumper wires
- Android smartphone with Blynk App installed on it
- Mini Breadboard
- Battery pack (lithium-ion x 3)
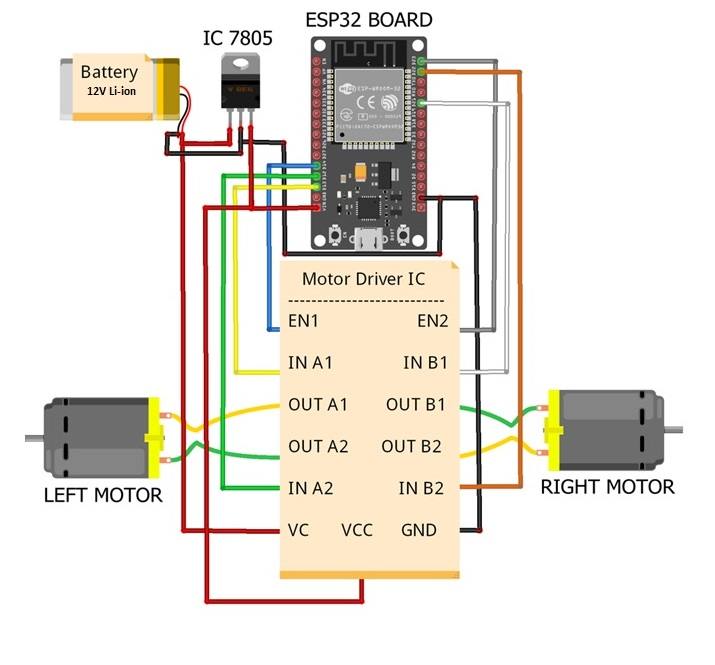
Circuit diagram of Bluetooth controlled car:
From the above circuit diagram, you can see that 2 motors are interfaced with the L293D driver IC (for more details you can also refer to our blog on IC L293D. This IC is controlled by ESP32 Dev Module. The IC 7805 is a voltage regulator IC which provides a constant 5V to the ESP32.
A 12V power supply is required to drive the IC and motors. LM7805 voltage regulator gives a constant 5V to the ESP32 module.
Working of Bluetooth controlled RC car:
As we power the ESP32’s the Bluetooth module starts working and gets connected to a smartphone when you start Dabble App installed on it. In that application, there is a gamepad. By using that gamepad you can control the Bluetooth car. You can move your car in three different modes. Know more about dabble.
Joystick mode:
In this mode, you can control the car using a single joystick easy to control.
Button mode:
In this mode, there are four buttons(i.e. forward, backward, left, and right) using the theme you can control your car, but you have to use more buttons.
Accelerometer mode:
In this mode, you can control your car just by moving and tilting your smartphone. it’s very easy and funny.
Code for Bluetooth Controlled Car using ESP32:
Let’s understand the working of car by code:
// Here we have defined pins for motor Aint motor1Pin1 = 27; int motor1Pin2 = 26; int enable1Pin = 14;// Here we have defined pins for motor Bint motor2Pin1 = 32; int motor2Pin2 = 33; int enable2Pin = 25;//defining custom settings, you need to install dabble library in your program#define CUSTOM_SETTINGS #define INCLUDE_GAMEPAD_MODULE #include <DabbleESP32.h>void setup() { Dabble.begin("MyEsp32");//* setting the pins for motor1 as outputs:pinMode(motor1Pin1, OUTPUT); pinMode(motor1Pin2, OUTPUT); pinMode(enable1Pin, OUTPUT);// sets the pins for motor2 as outputs:pinMode(motor2Pin1, OUTPUT); pinMode(motor2Pin2, OUTPUT); pinMode(enable2Pin, OUTPUT);digitalWrite(enable1Pin, HIGH); digitalWrite(enable2Pin, HIGH); }void loop() {Dabble.processInput();// It will be checking which button is pressed or not? Depending upon the button pressed, output pins of the microcontroller will be set to high or low. We are using else if statement.boolean a = GamePad.isUpPressed(); boolean b = GamePad.isDownPressed(); boolean c = GamePad.isLeftPressed(); boolean d = GamePad.isRightPressed(); boolean e = GamePad.isTrianglePressed(); boolean f = GamePad.isCirclePressed(); boolean g = GamePad.isCrossPressed(); boolean h = GamePad.isSquarePressed(); // boolean i = GamePad.isStartPressed(); // boolean j = GamePad.isSelectPressed();//Go forwardif (a || e){ digitalWrite(motor1Pin1, LOW); digitalWrite(motor1Pin2, HIGH); digitalWrite(motor2Pin1, HIGH); digitalWrite(motor2Pin2, LOW); }// Go Left conditionelse if(d || f){ digitalWrite(motor1Pin1, LOW); digitalWrite(motor1Pin2, HIGH); digitalWrite(motor2Pin1, LOW); digitalWrite(motor2Pin2, LOW); }//* Rights conditionelse if(c || h){ digitalWrite(motor1Pin1, LOW); digitalWrite(motor1Pin2, LOW); digitalWrite(motor2Pin1, HIGH); digitalWrite(motor2Pin2, LOW); }// Go back conditionelse if(b || g){ digitalWrite(motor1Pin1, HIGH); digitalWrite(motor1Pin2, LOW); digitalWrite(motor2Pin1, LOW); digitalWrite(motor2Pin2, HIGH); }//stop conditionelse{ digitalWrite(motor1Pin1, LOW); digitalWrite(motor1Pin2, LOW); digitalWrite(motor2Pin1, LOW); digitalWrite(motor2Pin2, LOW); } }

This is how the Bluetooth-controlled car using ESP32 works by our Android smartphone using Dabble App.
For joystick mode just you need to upload the following code on your ESP32 Dev Module, and it will work for you we are making another blog in which you find detailed explanation of code.
// Code for joystick mode.

#define l1 27 //left motor 1
#define l2 26 //left motor 2
#define r1 33 //right motor 1
#define r2 32 //right motor 2
#define e1 14 //left enable pin for left motor
#define e2 25 //right enable pin for right motor

int lm = 0; //speed of left motor
int rm = 0; //speed of right motor

#define CUSTOM_SETTINGS
#define INCLUDE_GAMEPAD_MODULE
#include <DabbleESP32.h>

const int freq = 30000;
const int pwmChannel = 0;
const int pwmChannel2 = 1;
const int resolution = 8;
int dutyCycle = 200;

void setup() {

Dabble.begin(“BAJRANGIBHAIJAN”);

pinMode(l1, OUTPUT);
pinMode(l2, OUTPUT);
pinMode(r1, OUTPUT);
pinMode(r2, OUTPUT);
pinMode(e1, OUTPUT);
pinMode(e2, OUTPUT);

ledcSetup(pwmChannel, freq, resolution);
ledcAttachPin(e1, pwmChannel);
ledcAttachPin(e2, pwmChannel2);
}

void loop() {
Dabble.processInput();

ledcWrite(pwmChannel, lm);
ledcWrite(pwmChannel2, rm);

float xval = GamePad.getXaxisData();
float yval = GamePad.getYaxisData();

if(yval < 0){
digitalWrite(l1, HIGH);
digitalWrite(l2, LOW);
digitalWrite(r1, HIGH);
digitalWrite(r2, LOW);
lm = map(yval, 0, -7, 0, 200);
rm = map(yval, 0, -7, 0, 200);
}
else if(yval > 0) {
digitalWrite(l1, LOW);
digitalWrite(l2, HIGH);
digitalWrite(r1, LOW);
digitalWrite(r2, HIGH);

lm = map(yval, 0, 7, 0, 200);
rm = map(yval, 0, 7, 0, 200);
}
else {
lm = 0;
rm = 0;
}
if(xval < 0) {
int xMapped = map(xval, 0, -7, 0, 200);
lm = lm – xMapped;
rm = rm + xMapped;
if(lm < 0) {
lm = 0;
}
if(rm > 200) {
rm = 200;
}
}

if(xval > 0) {
int xMapped = map(xval, 0, 7, 0, 200);

lm = lm + xMapped;
rm = rm – xMapped;

if(lm > 200) {
lm = 200;
}

if(rm < 0) {
rm = 0;
}
}

}
Now by uploading this code you will be able to control your car with all three-mode (i.e. Digital Mode, Joystick Mode, and Accelerometer mode) of the gamepad on your Dabble App.


Hello, dear.
I’m trying to use the sketch, but it returns error in the compilation… I believe that due to trying to copy and paste… it must have been out of order… but the error is related to Mapped; Could you please check. If you can forward the file to me by email, I would be very grateful.
Best regards.